
IS your neighbour's lawn looking greener than ever – whilst the grass on your side seems to be dying?
envy is a real thing. The truth is any beautifully-green lawn is a result of good .
Ever wondered how to get that lush, deep green lawn without leaving you with an empty wallet?
Luckily, thrifty enthusiasts have come to rescue with just the right solution – and it's something called ”the tea”, which they insist is ”liquid gold”.
Fertiliser is not just about making your grass grow but also about nurturing a that can withstand the tests of , as well as time.
A robust lawn is your first defense against diseases, and environmental stresses, such as frost or , emphasised the pros at the Lawn Squad.
But does this mean you need to rush to the nearest to snap up a store-bought fertiliser?
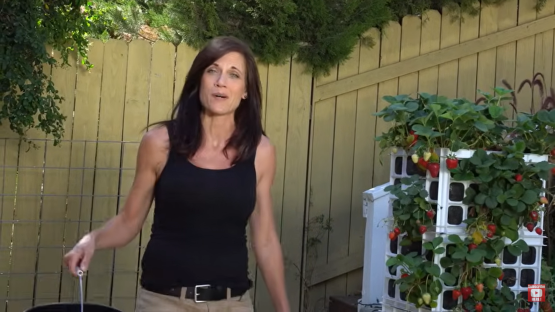
According to YouTuber and gardener Cali Kim, there's no need to spend your hard-earned on this lawn essential.
Dropping the knowledge bombs online, Kim, from , explained how her special ”compost tea” can make your lawn thrive this summer – and it's totally free too.
As well as providing her plants ”with lots of great fast-acting nutrients”, the DIY mixture ”really increases” the ‘ growth – getting the food on the table quicker.
Kim went on in the informative video: ”Third, I love how it provides all the beneficial bacteria, microbes for the – it really helps my plants to be healthy and strong, and really tolerate the stress better.”
Another major benefit to this quick and simple recipe is that it avoids the use of chemical fertilisers – perfect for those who want to have a fully organic garden.
”And the fifth thing is one of my favourites – it's quick, simple and because I'm using my own compost, it's totally free.”
To make your own ”tea”, you will need just to ingredients – compost, as well as water.
Once you've filled up a large bucket with water, let it sit outside for 24 hours, letting the chlorine to evaporate.
Kim explained: ”If you use chlorinated water, it will kill the beneficial bacteria and microbes, which are one thing that make compost tea so effective for your garden.”
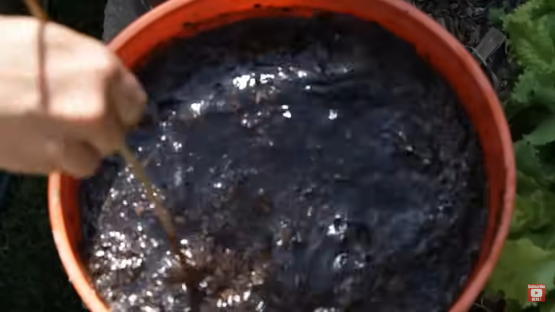
When the time is up, simply add your compost to the water and give it a good stir with a stick.
”I'm gonna let this sit for about 24 – 48 hours, so that it gets nice and strong, has lots of good nutrition for my plants.”
To give the DIY concoction good aeration, Kim also advised to stir it around the next morning and then once again in the evening.
”You can use it right away but it will be a little bit weaker,” said Kim, adding that her strawberries ”love” the compost tea.
How do I start composting at home?
While it may sound complicated, is actually very straightforward – even for people with the smallest kitchens and gardens.
According to the Royal Horticultural Society, this is how to get yourself set up:
1. Choose your container
Once you've decided on your bottomless container, position it in a shady part of your garden.
It can go on any surface, but if placed on hard ground then be sure to add a spadeful of soil to the bin before you start.
Then, on top of that, pile a few inches of any sticks or branches you can find to help aerate the pile.
2. Balance the materials
It's important to have the right mix of materials in the bin.
Experts recommended between 25 and 50 per cent of soft green materials – like grass clippings, weeds or vegetable kitchen waste – with the rest being made up of woody brown materials such as wood chippings.
It is also advised not to let any one material dominate the heap, especially grass clippings.
3. Feed it the right things
While it may seem you can just chuck any old thing in your compost bin, there are some things which are definitely best left out.
This includes and dairy products, as they attract pests, as well as any highly .
However, the list of things you can put in is huge.
Fruit and vegetable peelings and offcuts, , tea leaves, grass clippings, dried leaves, manure, herbs, and even are all good to go in.
4. Turn the heap
Once you're pile is taking shape, it's important to keep an eye on it and turning it when needed.
This adds air into the mix which is essential for composting to occur.
How often will depend on the size of your pile and the materials in it, but a turn with a spade once every week or two should be plenty.
And don't forget to also add water when the heap gets dry in hot weather.
5. Ready to go
The RHS advises people to be patient as garden compost can take between six months and two years to reach maturity.
If you think yours could be ready, check if it is the right appearance, feel and smell.
It should be dark brown, with a crumbly soil-like texture, be warm to touch and smell like damp woodland.